
|
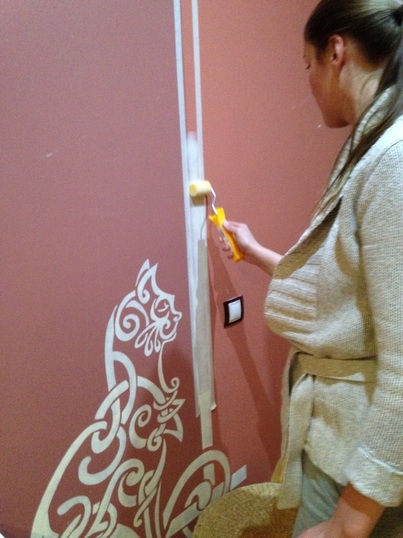
Preparation of surface
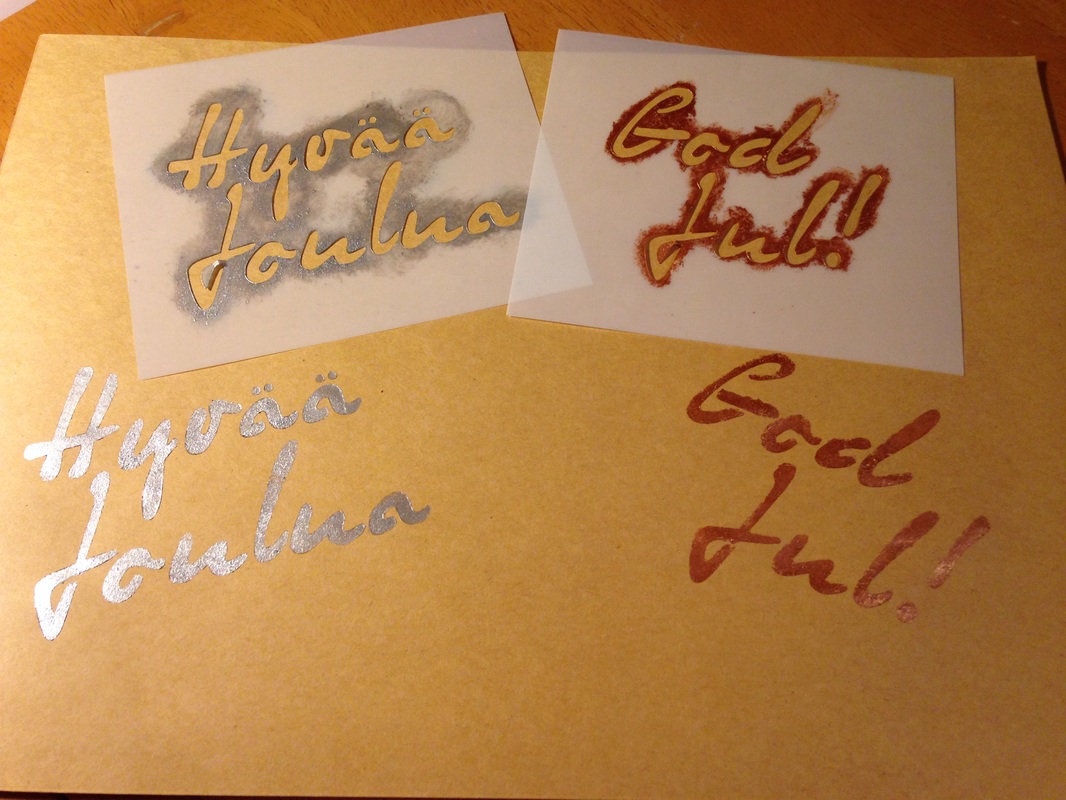
Clean the surface of any dirt or grease. You can clean surface with water, or use an appropriate cleaner suitable for your surface. Surface should be dry when you paint! Wood surface can be smoothed with a fine sand paper, it is best to stencil surfaces that are as smooth as possible. Stenciling Pour a small amount of paint on a plate or palette, about the size of a quarter. Dip just the tip of your brush or sponge into the paint. If using a brush, with a circular/swirling motion, remove excess paint on a different paper plate or paper towel until the brush is "dry". Too much paint on the brush causes blotchy designs. If using a sponge, start dabbing and 'pushing/working' the paint into the sponge until the sponge feels almost dry/moist! Stenciling is the case when we can say “more is less” – you will have much better result with small amount of paint. The most common stenciling mistake is overloading your brush with paint. It is far better to stencil a few new paint layers letting each one to dry, instead of one thick paint layer application. The paint may start to smudge behind the stencil if using too much paint, also it might cause a problem of not getting precise, defined edges. Practice first on a test surface with your design, before you switch over to your stenciling project. Before you start your project please ensure there are no wet paint or liquid remains on your stencil or painting tools. Stippling and swirling is the most common stenciling technique, good one to start with. Stippling is a straight up and down motion. Swirling is in a circular motion. Combine stippling and swirling: apply the first paint layer with a sponge, distribute evenly the paint using stippling technique. Apply the second layer with the swirling technique, ensuring sharp/crisp edge lines. Use swirling for small details. Carefully peel off the stencil after stenciling. Connecting bridges (optional). You can leave the motive as it is with stencil “bridges” or you might want to connect bridges. Bridges are needed in stencils, so the middles don't fall out. Example: the letter “O”: if there were no bridges, the middle of the O would fall out. If you choose to connect bridges after stenciling, use the same color as for stenciling. Carefully apply the paint by free-hand with a small paintbrush, connect the lines. Or protect over the areas besides painting line by dry piece of paper, then stipple the color by small stencil brush. Finishing (optional): you may apply a protective coat when your project is ready and dry. |
painting tools
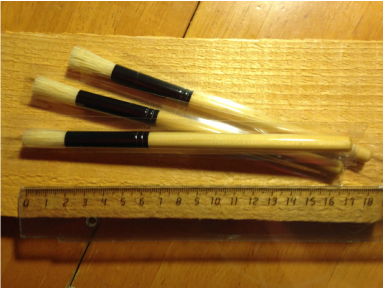
You will need stencil brush , sponge, foam brush, roller or other paint application tool/tools.
We would like to offer you 8mm stencil brush which is a great paint application tool, especially when working with detailed stencils. Stencil brush for sale here |
cleaning of stencil
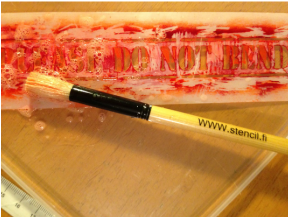
It is recommended to clean your stencil stright after painting before the paint gets dry.
Mylar stencils are long-life professional transparent film stencils, those may be dipped into water. The water soluble color remains should be cleaned with pure water, you can even add a small amount household cleaner. Place your stencil on an even surface and spray down small amount of washing liquid on it. Carefully remove paint remains from stencil and soak up the washing liquid. Be careful not to brake tiny bridges – stencils usually are broken in cleaning process. |
cleaning of painting tools
Place your painting tools in warm water immediately after stenciling, wash them with soap and warm water as soon as you have time.
Paper plate can be thrown out. Careful cleaning of your stencils and painting tools will enable them to be reused many times. |
